I’ll be honest with you: when I first considered installing my own plantation shutters DIY, I spent weeks reading horror stories online. Warped louvers. Gaps you could see daylight through. Hours wasted on cuts that were off by just a fraction of an inch. The internet is full of reasons why DIY plantation shutters are a terrible idea.
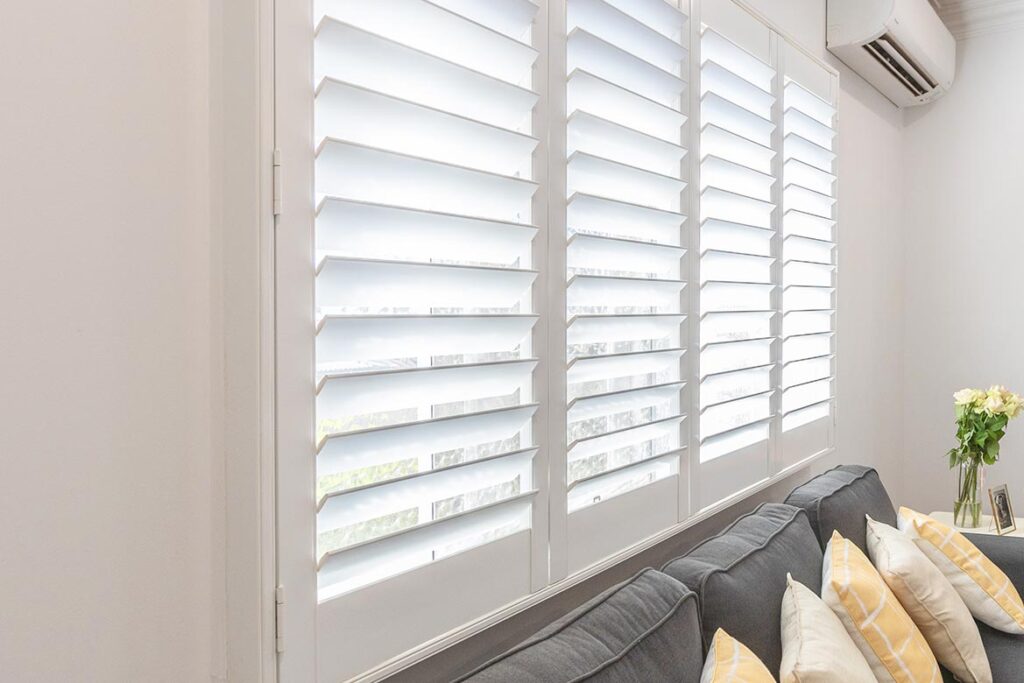
But here I am, three years later, looking at beautiful, functional shutters on every window in my home. They still operate smoothly, they’ve saved me thousands of dollars, and I’ve never once regretted taking on the challenge.
Let me walk you through why people avoid this project, and more importantly, why those concerns shouldn’t stop you from creating something that will add value and beauty to your home for decades to come.
The Real Concerns (And They’re Valid)
The Precision Problem
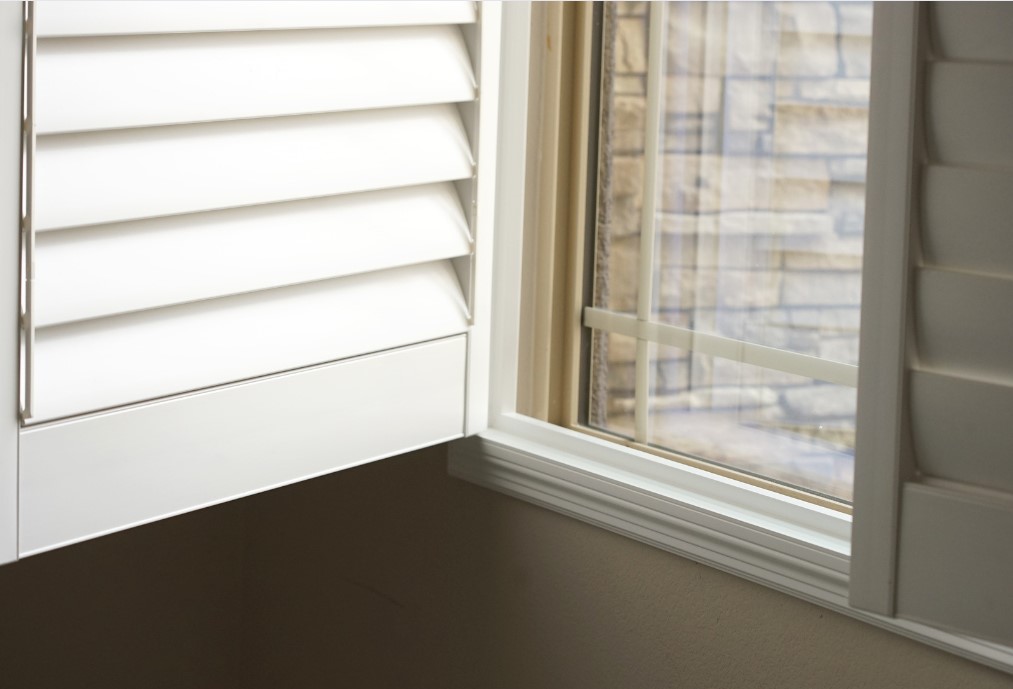
Let’s start with the elephant in the room: plantation shutters demand accuracy. We’re talking about measurements down to 1/16 of an inch. One miscalculation and you’ll have shutters that don’t close properly, leave unsightly gaps, or worse, don’t fit at all.
But here’s the truth: This precision requirement isn’t a bug, it’s a feature. It’s exactly why professionally installed plantation shutters cost $250-500 per window. When you take the time to measure correctly, double-check your work, and cut carefully, you’re developing valuable skills that will serve you in countless future projects. Yes, you might measure three times before making that first cut. That’s not a weakness; that’s being smart.
The Complexity of the Hardware
The louver mechanism that allows those slats to tilt in perfect unison? It looks deceptively simple, but getting it right can be frustrating. The first time you try to install a tilt rod or align multiple louvers, you might wonder what you’ve gotten yourself into.
Here’s what changed my perspective: Think of this as assembling something valuable rather than just “another home project.” You’re not slapping together disposable furniture; you’re creating a permanent fixture that will be used multiple times every single day for years. That complexity translates directly into functionality. Once you understand how the mechanism works, you’ll be able to maintain and repair your shutters indefinitely, something you can’t do with store-bought options when they inevitably break.
The Time Investment Reality
I won’t sugarcoat this: your first window will not be a weekend project. It might take you a full week of evenings, or two full weekends. I’ve seen people spend a month on their first set of shutters.
But consider this: Professional installation is scheduled weeks or months out anyway. You’re going to wait regardless. The difference is that during your “waiting period,” you’re actually creating something rather than just waiting for someone else to show up. Plus, your second window goes twice as fast. By your third window, you’ll have a rhythm. Time invested in learning compounds; every subsequent window becomes easier and faster.
Why the Long-Term Benefits Outweigh Everything
The Investment That Keeps Paying
Here’s a number that changed everything for me: the average homeowner spends $3,000-8,000 to have plantation shutters professionally installed in a typical home. My material costs for the entire house? About $800.
But it’s not just about the initial savings. Three years in, I haven’t had to replace a single component. Compare that to fabric blinds that fade, fray, and need replacing every few years, or cheap vinyl options that crack and yellow. Quality plantation shutters, whether DIY or professional, are a one-time investment. The difference is that your DIY version costs 70-80% less for the same longevity.
Energy Savings That Add Up
Plantation shutters create an insulating air pocket between the window and your room. In my first year, I noticed a genuine difference in my energy bills, particularly during summer heat waves and winter cold snaps. The Department of Energy estimates that proper window treatments can reduce heat gain by up to 77% and heat loss by up to 25%.
Over a 20-year lifespan (and quality shutters easily last that long), the energy savings alone can offset your material costs. Every month, you’re getting a small return on your investment while also enjoying a more comfortable home.
The Durability Factor
This is where DIY actually has an advantage over many alternatives. When you build something yourself, you choose the materials. You can opt for solid hardwood instead of the hollow composite materials many “affordable” professional options use. You can use brass hardware instead of plastic. You control the quality at every step.
I’ve visited friends with professionally installed “budget” shutters that started sagging within two years. Meanwhile, my DIY shutters, built with quality materials and proper techniques, are still perfectly aligned and operating smoothly. When you’re not paying labor costs, you can afford to invest in materials that will truly last.
Making DIY Plantation Shutters Work for You
Start Small, Think Big
Don’t try to do your entire house at once. Pick one window, preferably a standard size in a less visible room. This is your learning window. Make your mistakes here. Test your techniques. Figure out your process.
The beauty of this approach is that even if your first attempt isn’t perfect, you’ve still saved money compared to professional installation on that one window. And the lessons you learn make every subsequent window better.
Invest in Knowledge Before Materials
Before you buy a single board, invest time in research. Watch multiple tutorials. Read different approaches. Join DIY forums where people share their successes and failures. This front-loaded learning prevents expensive mistakes.
I spent about 20 hours researching before I made my first cut. Those 20 hours saved me from at least three major mistakes that would have cost me over $200 in wasted materials.
Accept Imperfection in Pursuit of Excellence
Your first set of shutters might have small gaps. The louvers might not tilt with absolute perfection. The paint job might show a few brush strokes up close.
And you know what? From six feet away, which is where people actually see them, they look fantastic. Perfect is the enemy of good, especially in DIY. Aim for “looks professional from normal viewing distance” rather than “absolutely flawless under inspection.” You’ll get closer to flawless with each window you complete.
The Intangible Benefits
There’s something deeply satisfying about operating shutters you built with your own hands every single day. Every time I adjust the louvers, I remember the challenge of installing that tilt rod mechanism. Every time a guest compliments them (and they do), I get to share that I made them myself.
You’re also gaining knowledge that makes you more capable as a homeowner. Understanding how shutters work means you can maintain them, repair them, and even modify them in the future. You’re not dependent on calling a professional for every little issue.
The Bottom Line
Yes, DIY plantation shutters are challenging. Yes, they require precision, patience, and persistence. Yes, you might have moments of frustration where you wonder why you didn’t just hire a professional.
But they’re also one of the most rewarding home improvement projects you can undertake. They provide decades of reliable service, significant energy savings, increased home value, and the pride of having created something beautiful and functional with your own hands.
The people who warn against DIY plantation shutters aren’t wrong about the challenges. They’re just missing the bigger picture. Those challenges are exactly what make the accomplishment meaningful. The difficulty is what makes the savings possible. The precision required is what ensures quality results.
If you’re willing to invest the time to learn, patient enough to measure multiple times, and committed to doing it right rather than doing it fast, DIY plantation shutters aren’t just possible—they’re one of the best investments you can make in your home.
Three years ago, I was reading all those discouraging posts online. Today, I’m writing this looking at shutters that still look beautiful, work perfectly, and remind me that the best things in life are often the ones we create ourselves.
Ready to get started? Your future self, enjoying custom shutters you built for a fraction of retail cost, will thank you for taking that first step.
Your Next Steps
If your windows aren’t perfect — that’s okay. With the right measuring and installation approach, your shutters will still look flawless.
👉 Get your free quote here: https://diyeasyfitshutters.com.au/quote/
👉 Or order a free sample box: https://diyeasyfitshutters.com.au/request-a-sample/
🔗 Related Blogs
Continue your DIY plantation shutter journey with these helpful guides: