Published by DIY Easyfit Shutters | Home Improvement & Window Treatments
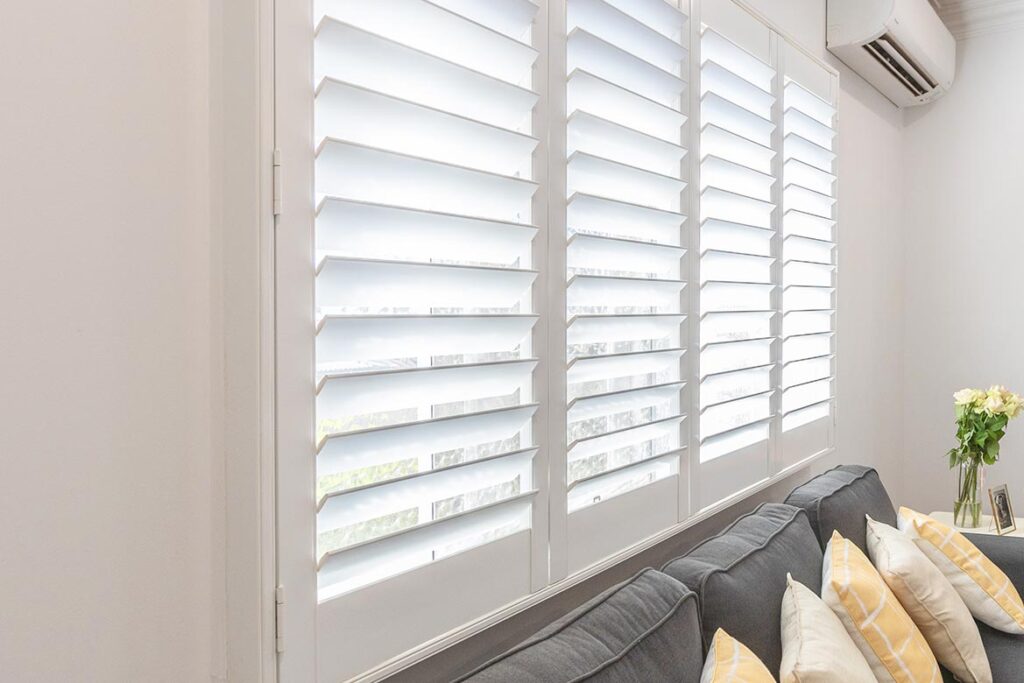
Plantation shutters are one of the most elegant and practical window treatments you can install in your home. But like any fixture, they’re not immune to wear and tear. If you’ve noticed your shutters drooping, tilting, or refusing to sit straight, you’re not alone — sagging is one of the most common complaints among shutter owners. The good news? Most cases can be fixed without calling a professional.
In this guide, we’ll walk you through the most common reasons plantation shutters sag and how to fix them yourself — quickly and affordably.
What Causes Plantation Shutters to Sag?
Before you grab a screwdriver, it helps to understand why your shutters are sagging in the first place. The cause will determine the best fix.
1. Loose or Worn Hinges
Over time, the hinges connecting your shutters to the frame can loosen, especially with regular opening and closing. When hinges lose their grip, the shutter panel begins to tilt downward under its own weight — particularly at the bottom corner.
Signs: One side of the panel hangs lower than the other; the shutter scrapes against the frame or floor.
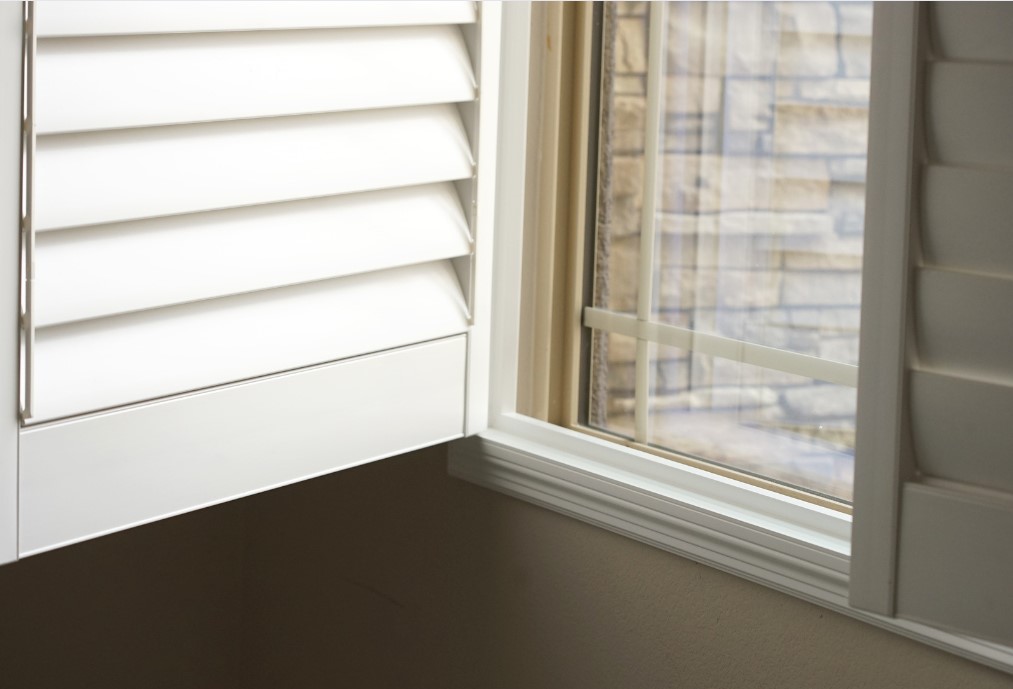
2. Warped or Swollen Panels
Timber and lower-quality composite shutters are vulnerable to moisture. Humidity, steam from cooking, and bathroom condensation can cause panels to absorb moisture and warp, leading to an uneven, sagging appearance.
Signs: The panel bends outward or inward; louvres don’t open and close smoothly.
3. Poor Quality Materials
If your shutters were made with substandard or non-reinforced materials, they simply may not be strong enough to hold their shape over time — especially on wide panels. This is one of the most frustrating causes because no amount of maintenance will permanently fix a shutter that wasn’t built to last.
Signs: Sagging appears relatively early in the shutter’s life; multiple panels are affected.
4. Incorrect or Improper Installation
Shutters that weren’t installed level, or that were hung on a frame that wasn’t square, will often develop a sag as gravity does its work. Poorly placed screws or the wrong type of hardware can also contribute.
Signs: Sagging was present shortly after installation; the frame itself appears uneven.
5. Heavy Panels Without Proper Support
Wide louvre panels — especially those over 600mm — put more stress on hinges and frames. Without adequate mid-rail support or reinforcement, these larger panels are more prone to sagging over time.
Quick DIY Fixes for Sagging Plantation Shutters
Fix 1: Tighten and Replace Loose Hinges
This is the first thing to check. Grab a screwdriver and gently tighten all hinge screws. If the screws spin without gripping (the hole is stripped), use a slightly larger screw or fill the hole with wooden toothpicks and wood glue before re-driving the original screw.
If the hinge itself is bent or damaged, replace it entirely. Most hinges are standard sizes and available at hardware stores.
Tools needed: Phillips-head screwdriver, replacement screws or hinges, wood glue and toothpicks (if needed).
Fix 2: Re-Level the Panel
If your shutter panel has dropped on one side, you may be able to lift it back into position by adjusting the hinge placement. Remove the hinge screws, shift the hinge slightly upward, and re-fasten. Check with a spirit level as you go.
For panels that have dropped significantly, it may help to use a shim behind the hinge to push the panel back into alignment.
Tools needed: Spirit level, screwdriver, thin shims or cardboard.
Fix 3: Address Moisture and Warping
If moisture is causing your shutters to swell and warp, start by identifying and fixing the source of the moisture — whether that’s poor ventilation, a leaky window seal, or high humidity in the room.
For minor warps, placing the panel flat with a heavy weight on top in a dry environment can sometimes reverse the bend over several days. However, once significant warping occurs, the panel may need to be replaced.
Prevention tip: Choose shutters specifically designed to resist moisture — more on that below.
Fix 4: Add a Stabiliser or Mid-Rail
For wider panels, installing a mid-rail (a horizontal bar across the centre of the panel) can significantly reduce sagging by breaking the panel into two supported sections. Many shutter manufacturers offer these as add-ons, and they can often be retrofitted to existing panels.
If you’re installing new shutters, opt for a design that includes a mid-rail from the start.
Fix 5: Reinforce the Frame
Sometimes the issue isn’t the shutter panel itself but the frame it’s mounted in. Check that the frame is securely fixed to the wall and that all mounting points are solid. Add screws or wall plugs where needed to ensure the frame bears the weight of the panels evenly.
The Best Long-Term Fix: Upgrade to Quality Shutters
If your shutters are repeatedly sagging, warping, or giving you grief, it may simply be time to upgrade. Investing in high-quality, purpose-built plantation shutters will save you far more time, money, and frustration in the long run.
DIY Easyfit Shutters offers a range of shutters specifically engineered to stay straight, sturdy, and beautiful for years — and the best part is you can install them yourself.
Here are three outstanding options worth considering:
🔩 Aluminium Reinforced Plantation Shutters
One of the most common causes of sagging is panels that simply weren’t built strong enough to support themselves. DIY Easyfit Shutters’ Aluminium Reinforced Plantation Shutters solve this problem at the core.
These shutters feature an internal aluminium spine running through each louvre and stile, providing exceptional structural rigidity. Even on wider panels that would cause standard shutters to bow and droop, the aluminium reinforcement keeps everything perfectly aligned.
Why they’re worth it:
- Internal aluminium core prevents sagging and bowing
- Suitable for wide window spans
- Maintains shape over time, even in high-use areas
- Resistant to the everyday stress of opening and closing
If sagging has been a persistent problem, this is likely the upgrade that will finally put it to rest.
💪 Durable Plantation Shutters
If you want shutters that can take a beating and still look great, look no further than DIY Easyfit Shutters’ Durable Plantation Shutters.
Engineered for longevity, these shutters are built to withstand the demands of everyday life — whether that’s busy family homes, high-traffic areas, or rooms that experience temperature fluctuations. They resist the kind of wear and tear that causes cheaper shutters to sag, split, or fall apart over time.
Why they’re worth it:
- Built to last in demanding environments
- Resistant to impact, heat, and daily wear
- Maintains structural integrity over years of use
- A smart investment that reduces the need for repairs or replacements
These are ideal for anyone who’s tired of continually maintaining or replacing shutters that just don’t hold up.
🌊 Poly Plantation Shutters
Moisture is one of the leading causes of shutter warping and sagging — and the solution is a material that simply doesn’t absorb it. DIY Easyfit Shutters’ Poly Plantation Shutters are made from a specially formulated polymer that is completely waterproof.
These are the perfect choice for bathrooms, kitchens, laundries, and any other area where humidity and moisture are a constant concern. Because they don’t swell, shrink, or warp with changes in moisture, they maintain their shape and alignment indefinitely.
Why they’re worth it:
- 100% waterproof — will not warp, swell, or rot
- Ideal for wet areas (bathrooms, kitchens, laundries)
- Easy to clean and maintain
- Stays perfectly straight year after year
If moisture has been the root cause of your sagging shutters, switching to poly shutters is the most effective fix available.
DIY Installation: Easier Than You Think
One of the biggest advantages of choosing DIY Easyfit Shutters is that their products are designed for straightforward self-installation. You don’t need to be a tradesperson — just someone comfortable with basic tools and following clear instructions.
Their shutters come with everything you need, and the installation process is broken down into simple, manageable steps. This means you save on installation costs while still getting a professional-quality result.
When to Call a Professional
While most sagging issues can be handled with the DIY fixes above, there are times when it’s best to bring in an expert:
- The structural frame around the window is damaged or rotten
- Multiple panels across the house are sagging simultaneously
- The window opening itself is out of square and needs correction
- You’ve attempted DIY fixes and the problem keeps recurring
In these cases, a carpenter or window treatment specialist can assess whether there’s an underlying structural issue that needs addressing before new shutters are installed.
Summary: Stop the Sag for Good
Plantation shutter sagging is frustrating, but it’s almost always fixable — and often preventable with the right products from the start. Here’s a quick recap:
- Loose hinges → Tighten or replace
- Warped panels → Address moisture, or replace with poly shutters
- Weak materials → Upgrade to aluminium reinforced shutters
- Poor installation → Re-level and reinforce the frame
- Wide panels → Add a mid-rail or choose reinforced shutters
And if it’s time for an upgrade, DIY Easyfit Shutters has everything you need — from their Aluminium Reinforced range for structural strength, to Durable Shutters built for longevity, to Poly Shutters that laugh in the face of moisture.
Don’t put up with sagging shutters any longer. With the right fix — or the right product — you can have perfectly aligned, beautiful shutters that enhance your home for years to come.
Ready to upgrade? Browse the full DIY Easyfit Shutters range at diyeasyfitshutters.com.au and find the perfect shutters for your home.