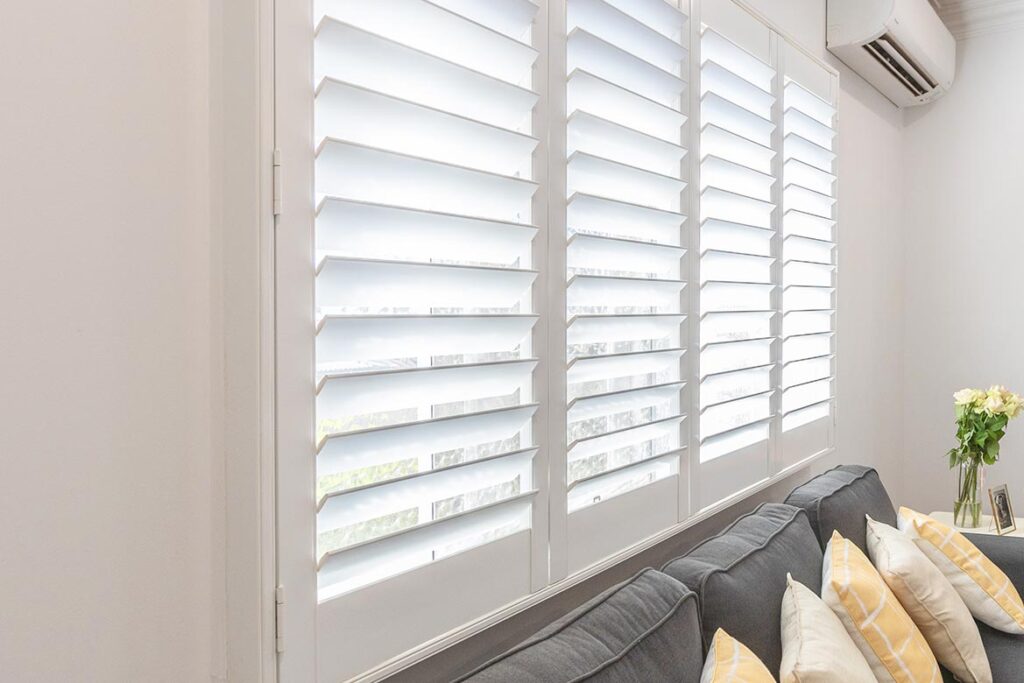
You’ve invested in beautiful DIY plantation shutters to enhance your home’s style and functionality. But if you live in Australia, you know our harsh sun can be unforgiving on window treatments. The good news? With the right knowledge and care, you can keep your shutters looking pristine for decades.
Let’s dive into everything you need to know about protecting your plantation shutters from sun damage and warping.
Understanding the Enemy: How Sun Damages Shutters
Before we jump into solutions, it’s important to understand what we’re dealing with. The Australian sun doesn’t just fade your shutters—it can actually change their structure.
UV Radiation is the primary culprit. Just like it damages your skin, UV rays break down the molecular bonds in shutter materials, leading to discoloration, brittleness, and surface degradation.
Heat is the second concern. Intense, direct sunlight can cause temperatures near windows to soar, especially in west-facing rooms during summer afternoons. This heat causes materials to expand and contract repeatedly, which over time leads to warping, cracking, and joint failure.
Moisture fluctuations compound the problem. When combined with heat, any moisture in or around your shutters can accelerate deterioration, particularly with certain materials.
Material Matters: Choosing Sun-Resistant Shutters
Your first line of defense starts before installation—choosing the right material for your climate and sun exposure.
PVC and Composite Shutters are your best friends in high-UV environments. These synthetic materials are engineered to resist sun damage, won’t warp with heat exposure, and maintain their color beautifully over time. They’re particularly ideal for west-facing windows or rooms with intense, direct sunlight.
Painted Hardwood Shutters offer a middle ground. Quality hardwoods with proper finishing can handle moderate sun exposure well, though they require more maintenance than synthetic options. The key is ensuring they’re sealed with UV-resistant paint or coating.
Basswood and MDF Shutters are beautiful but more vulnerable. While perfect for low-UV areas or east-facing windows that only get morning sun, they need extra protection in harsh conditions.
If you’re ordering new shutters for sun-drenched rooms, seriously consider PVC or composite materials. The slight additional cost pays for itself in longevity and reduced maintenance.
Smart Installation Strategies
How you install your shutters can significantly impact their sun resistance.
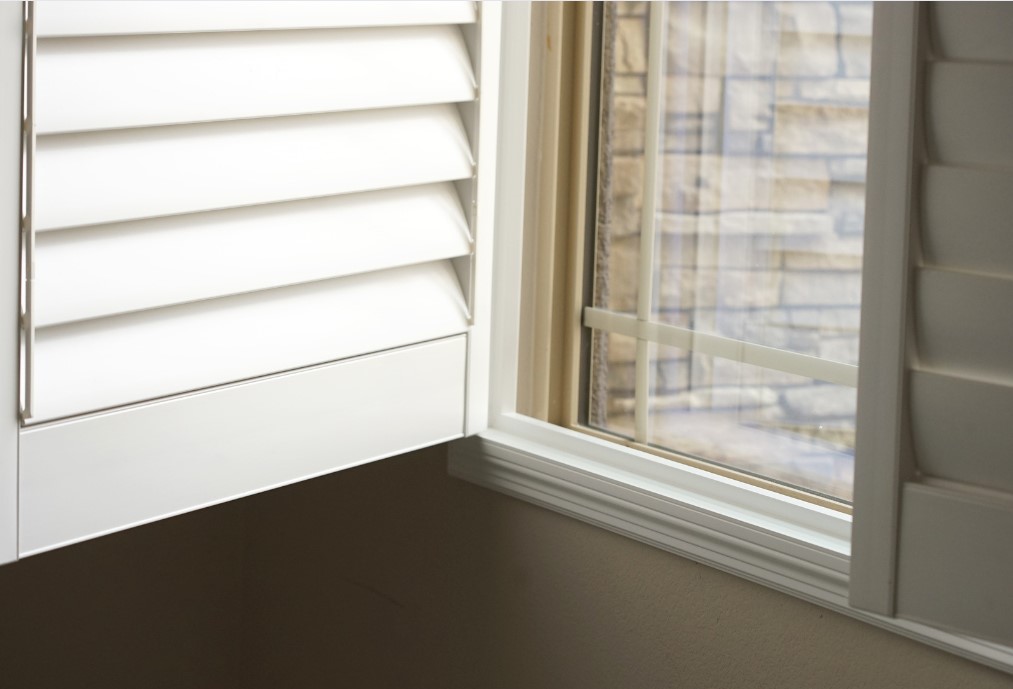
Ensure proper ventilation around your shutters. Air circulation helps dissipate heat that builds up between the shutter and the window. This is why the frame style matters—our L Frame provides excellent ventilation while maintaining that flush, flat finish.
Leave appropriate clearances during installation. Materials expand when hot, so shutters need room to move slightly without binding or warping. Follow manufacturer guidelines for clearance gaps, typically 2-3mm on all sides.
Consider your frame orientation. For extremely hot climates, the Z Frame’s projection can actually create a small air gap that reduces direct heat transfer to the shutter panels—a subtle but effective passive cooling strategy.
Daily Protection Habits
The way you use your shutters daily makes a huge difference in their lifespan.
Adjust throughout the day to minimize direct exposure. Close louvers during peak sun hours, but don’t keep them completely closed for extended periods—allow some air circulation to prevent heat buildup.
Use strategic angling. Position louvers at 45 degrees during intense sun rather than fully open or closed. This deflects direct rays while maintaining airflow and reducing surface temperature.
Combine with window film for extreme cases. If you have particularly brutal western exposure, UV-blocking window film provides an additional layer of protection while still allowing your shutters to do their job.
Regular Maintenance Routine
Consistent maintenance is crucial for sun-exposed shutters.
Clean every 2-3 months minimum, more frequently for shutters in direct sun. Dust and grime absorb heat, accelerating damage. Use a microfiber cloth with mild soap and water—harsh chemicals can break down protective coatings.
Inspect quarterly for early warning signs: slight discoloration, small cracks, or panels that don’t hang quite straight anymore. Catching issues early prevents major problems.
Reapply protective coatings as needed. For painted wood shutters, touch up any chips or scratches immediately to prevent UV penetration. Consider a UV-protective clear coat every few years for extra insurance.
Tighten hardware annually. Heat expansion and contraction can gradually loosen screws and hinges. A quick annual check with a screwdriver prevents bigger alignment issues.
Special Considerations for High-UV Rooms
Some rooms present special challenges and deserve extra attention.
West-facing rooms get the most intense afternoon sun. Consider room-darkening options during peak hours or invest in premium PVC shutters with enhanced UV stabilizers.
Conservatories and sunrooms experience extreme conditions. In these spaces, ventilation becomes critical—consider louvered panels that allow air circulation even when “closed,” or install ceiling fans to keep air moving.
Coastal properties face the double challenge of sun and salt air. PVC shutters are essential here, and regular cleaning to remove salt deposits prevents accelerated deterioration.
Warning Signs of Sun Damage
Know what to look for so you can act quickly.
Yellowing or color fading is usually the first sign. White shutters may develop a yellowish tinge, while colored shutters lose vibrancy.
Surface crazing appears as fine cracks in the finish, like a spiderweb pattern. This indicates UV breakdown of the protective coating.
Warping shows up as panels that won’t close properly, gaps appearing where they shouldn’t, or shutters that bind when operating.
Brittleness means louvers crack easily when adjusting, or you hear more creaking and snapping sounds than usual during operation.
If you notice any of these signs, don’t ignore them. Early intervention—whether repainting, resealing, or replacing affected panels—prevents complete failure.
Long-Term Protection Investment
Think of sun protection as an ongoing investment, not a one-time fix.
Window treatments teamwork can help. Combining shutters with exterior awnings or shade sails for your most vulnerable windows reduces direct exposure without compromising your shutters’ functionality.
Landscaping strategies work too. Deciduous trees on the western side of your home provide summer shade while allowing winter sun—nature’s own solar management system.
Interior temperature control matters more than you might think. Keeping your home’s interior temperature moderate with good insulation and air conditioning reduces the temperature differential your shutters experience, minimizing expansion and contraction stress.
When to Replace vs. Repair
Sometimes despite our best efforts, shutters need more than maintenance.
Repair if you’re seeing isolated issues—a single warped panel, small areas of finish damage, or loose hardware. Individual components can usually be replaced or refinished cost-effectively.
Replace when problems are widespread—multiple warped panels, extensive discoloration, or if the frame itself has shifted. At this point, the structural integrity is compromised, and repairs become a temporary band-aid.
The good news? With proper material selection and care, quality plantation shutters should last 20-30 years even in harsh Australian conditions.
Your Action Plan
Here’s your practical checklist for protecting your shutters:
Immediately: Assess your current shutters’ sun exposure and material type. Identify your highest-risk windows.
This week: Implement daily adjustment habits for your most sun-exposed shutters. Clean any dusty or dirty panels.
This month: Perform a thorough inspection for any early warning signs. Tighten any loose hardware. Consider UV window film for extreme cases.
This quarter: Deep clean all shutters. Check and touch up any finish damage. Evaluate whether your current material is appropriate for your conditions.
This year: If you’re planning new shutters for high-UV areas, prioritize PVC or composite materials with proven UV resistance.
Get the Right Shutters from the Start
The absolute best protection against sun damage? Choosing quality shutters designed for Australian conditions from the beginning.
At DIY Easy Fit Shutters, we offer premium materials engineered to withstand our harsh climate. Whether you’re installing in a cool southern bedroom or a sun-blasted western conservatory, we have options that will maintain their beauty for decades.
Ready to upgrade or install new shutters? Visit diyeasyfitshutters.com.au/quote/ for a custom quote. And here’s something special—get 15% OFF all DIY shutters with promo code NEWVIEW2026 at checkout. But don’t wait—this offer ends December 19, 2025!
Your shutters are an investment in your home’s comfort and value. With the right materials, smart installation, and consistent care, they’ll continue looking beautiful and functioning perfectly for years to come, no matter what the Australian sun throws at them.
Related Blogs You May Like
If you found this guide helpful, here are more articles you might enjoy:
🔗 How Plantation Shutters Are Made: From Raw Material to Your Window
A full breakdown of the entire shutter manufacturing process.
🔗 DIY Shutters vs Other Brands: What Makes EasyFit Different?
A comparison of build quality, reinforcements, warranty, and materials.
🔗 How Louvre Blades Work: Light, Privacy & Airflow Explained
A simple guide to how louvre shutters control your indoor environment.
🔗 Why Aluminium-Reinforced Shutters Are Essential in Queensland & NSW Homes
Especially for homes in humid or coastal areas.
🔗 Maximising Natural Light with Plantation Shutters
Tips on brightening your home using adjustable louvres.