Key Takeaways
- Measurement errors often cause fitting issues with DIY plantation shutters, primarily due to inconsistent window sizes and incorrect single measurements.
- Always measure width and height in three places to account for variations and ensure a proper fit in the narrowest part of the window.
- If shutters are too wide, minor trimming may help, but consult your supplier if significant adjustments are needed.
- For shutters that are too narrow, consider using overlapping frames or adding filler strips for a better fit.
- Prevent fitting problems by taking your time during measurements, requesting samples, and utilizing your supplier’s support.
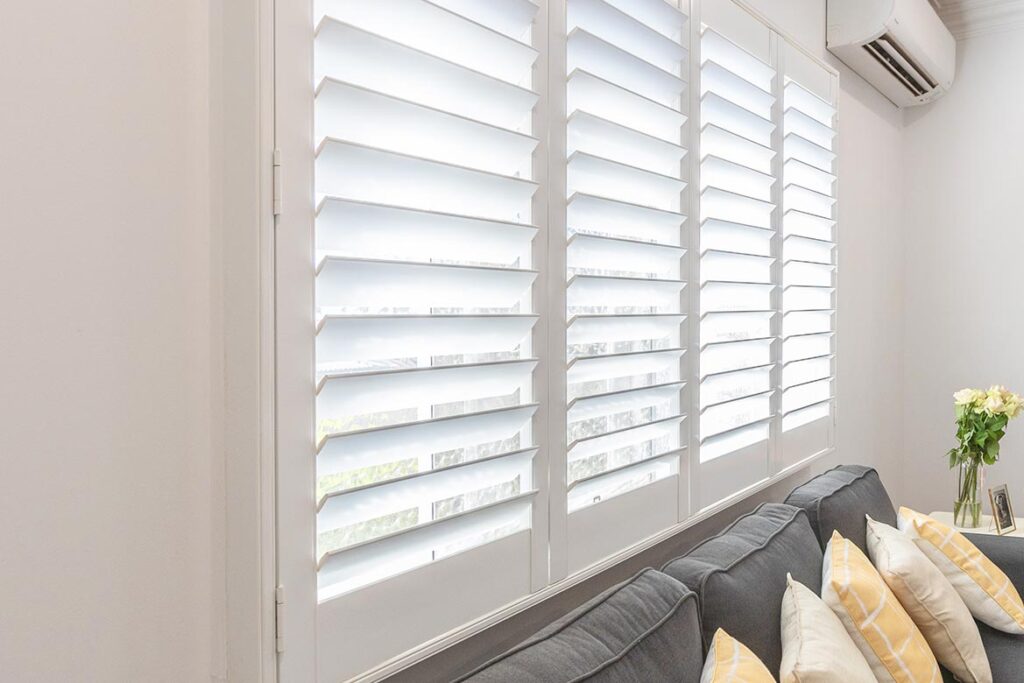
There’s nothing more frustrating than eagerly unboxing your new plantation shutters, holding them up to the window, and realising something isn’t quite right. Whether they’re a fraction too wide, slightly too tall, or just won’t sit flush in the recess, a fitting issue can quickly turn excitement into stress. The good news is that most DIY plantation shutter fitting problems are completely solvable — and in many cases, entirely preventable with the right approach from the start.
Here’s a practical guide to the most common measurement and fitting issues, and exactly what to do about them.
Why Measurements Go Wrong in the First Place
Windows are rarely as straightforward as they look. Older homes in particular can have frames that are slightly out of square, sills that aren’t perfectly level, or recess depths that vary from top to bottom. Even in newer homes, small inconsistencies in the build can cause issues if you’re only taking a single measurement and assuming it’s consistent across the whole window.
The most common measurement mistakes include measuring only once at one point rather than in multiple places, not accounting for the frame or stile width when calculating the usable shutter span, confusing the inside recess width with the overall window width, and forgetting to check whether the window is square by measuring diagonally corner to corner.
Always Measure in Three Places
The golden rule of shutter measurement is to measure width and height at three different points — top, middle, and bottom for width, and left, centre, and right for height. Always use the smallest measurement as your reference. This ensures your shutter will fit within the narrowest point of the window without being forced or bowing.
If your three measurements vary by more than a few millimetres, your window is out of square and you’ll need to account for that in your order. Reputable suppliers like DIY EasyFit Shutters provide detailed measuring guides and have experienced support teams available to help you interpret your measurements before you place your order — a step that can save a lot of headaches down the track.
What to Do If Your Shutters Are Too Wide
If your shutters arrive and are slightly too wide for the opening, don’t panic. Depending on the material, a small amount of trimming may be possible. PVC plantation shutters can sometimes be carefully trimmed using a fine-tooth saw, though this should be done sparingly and only on the frame — never on the louvre blades themselves. Always measure twice before making any cut, and work slowly to avoid cracking or chipping the material.
If the overage is more than a few millimetres, trimming alone may not be the right solution. In this case, contact your supplier directly. A good supplier will work with you to find a resolution, whether that’s a replacement panel, an adjusted frame, or guidance on how to refit using a different mounting method.
What to Do If Your Shutters Are Too Narrow
A shutter that’s too narrow for the opening is trickier to fix than one that’s too wide. If the gap is small — just a few millimetres on each side — it can often be concealed with the frame, particularly if you’re using an L-frame or Z-frame that has enough overlap to bridge the gap neatly. If the gap is larger, you may need to look at adding a timber filler strip to the inside of the recess before installing the frame, effectively narrowing the opening to match your shutter width.
This is exactly why ordering with a slight deduction from your measured width is standard practice — most suppliers will guide you on the correct deduction to apply so the shutter sits properly within the frame without gaps.
What to Do If Your Shutters Are Too Tall
Height issues are usually easier to manage than width issues. If the shutter is slightly too tall, check whether the obstruction is at the top or the bottom. Sometimes what appears to be a height problem is actually caused by an uneven sill or a floor that isn’t perfectly level. Use a spirit level to check before assuming the shutter itself is the problem.
If trimming is needed, the bottom rail of the shutter frame is generally the safest place to make a small reduction. Again, this applies more to the frame components than the panel itself, and should only be attempted if you’re confident with the tool and the material.
The Shutter Won’t Sit Flush — Now What?
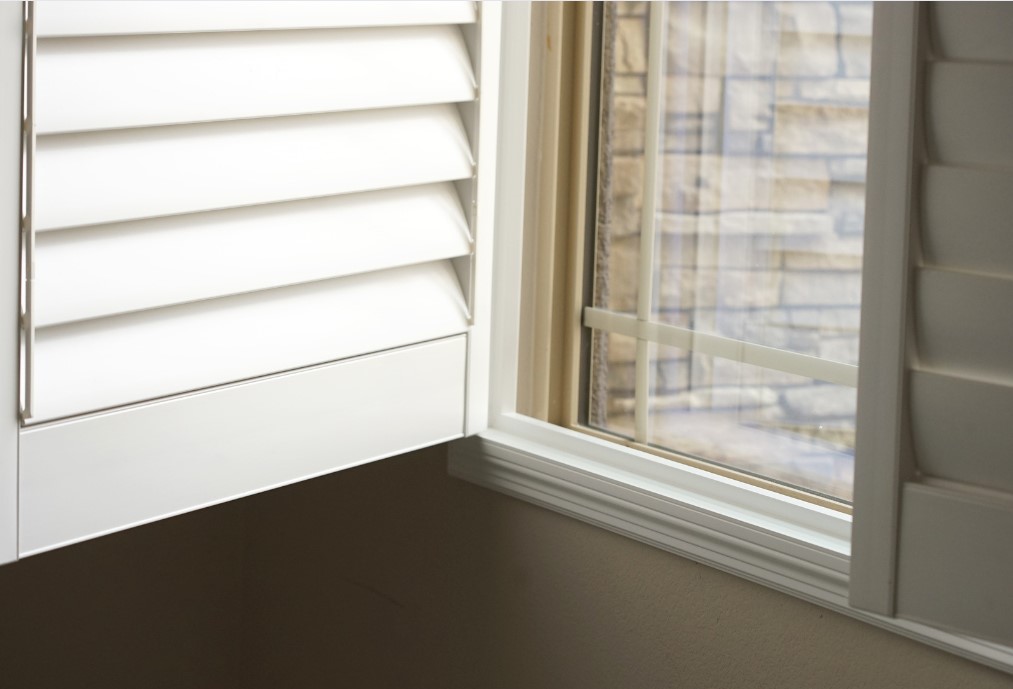
If your shutter panel sits proud of the frame or rocks when installed, the issue is usually one of two things — either the recess isn’t deep enough, or the frame isn’t sitting square. Check your recess depth first. For inside mounted shutters, you generally need a minimum recess depth to allow the frame to sit flush and the blades to open fully without hitting the sill. As a guide, blades need at least 55mm of clearance to open completely.
If your recess depth is borderline, consider whether a different frame style might give you more workable depth. Switching from an L-frame to a Z-frame, for example, can sometimes make the difference in a shallow recess.
Prevention Is Always Better Than a Fix
The best way to avoid fitting problems is to take your time at the measurement stage and use every resource available to you. Request free samples before ordering so you can check how the material looks and feels in your space. Read the installation guide cover to cover before you begin. And never hesitate to call the supplier’s support line — experienced consultants who have seen every possible fitting scenario can often spot a potential problem in your measurements before it becomes a real one.
The DIY Shutters Blog is also packed with practical tips, installation guides, and real-world advice to help you get the best possible result from your DIY shutter project.
The Bottom Line
A plantation shutter that doesn’t fit straight away is frustrating, but it’s rarely a disaster. Most issues come down to measurement errors that can be corrected, or small adjustments that can be made on-site. The key is to stay calm, diagnose the actual problem before reaching for any tools, and lean on your supplier’s expertise when you need it.
With the right preparation and the right support behind you, getting a perfect fit is absolutely achievable — and the result is well worth it. Explore the full range of options at DIY EasyFit Shutters and take the first step toward shutters that fit beautifully, first time.