DIY Plantation Shutter Repairs: When to Fix vs When to Replace
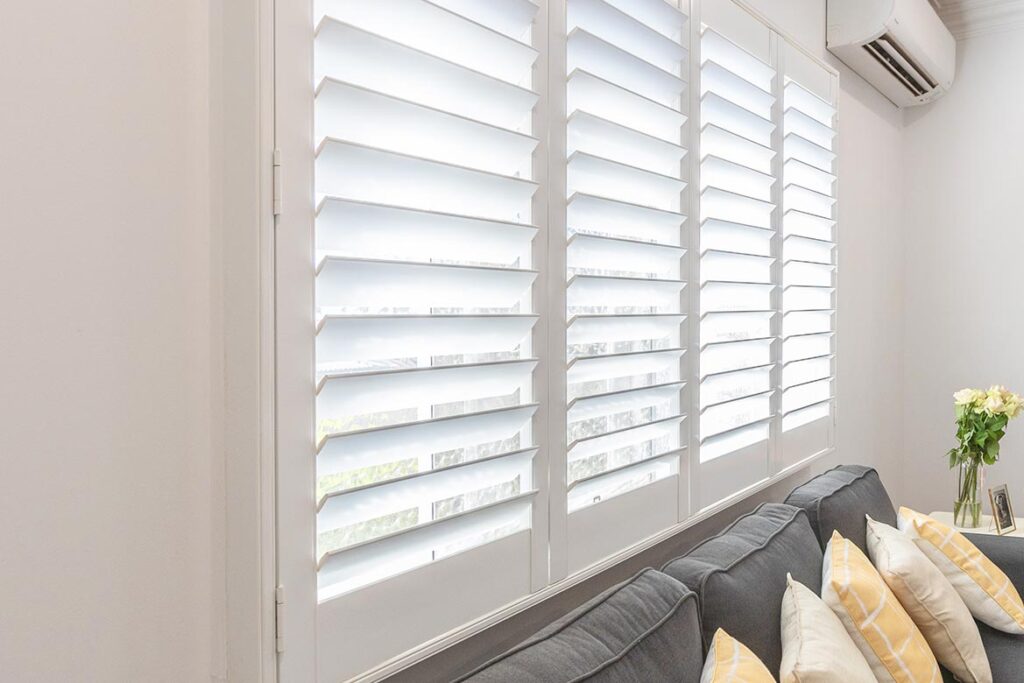
Plantation shutters are a beautiful, timeless addition to any home. They offer privacy, light control, and energy efficiency while boosting your property’s value. But like any window treatment, they don’t last forever without a little maintenance. Whether you’ve noticed a loose louver, a stubborn tilt rod, or visible wear and tear, you’re probably wondering: should I repair this myself, or is it time to replace them entirely?
The good news? Many common plantation shutter issues are surprisingly easy to fix with basic tools and a bit of patience. However, some problems signal that your shutters have reached the end of their useful life. In this guide, we’ll walk you through the most common shutter repairs, help you decide when DIY fixes make sense, and show you when replacement is the smarter investment.
Common Plantation Shutter Problems (And How to Fix Them)
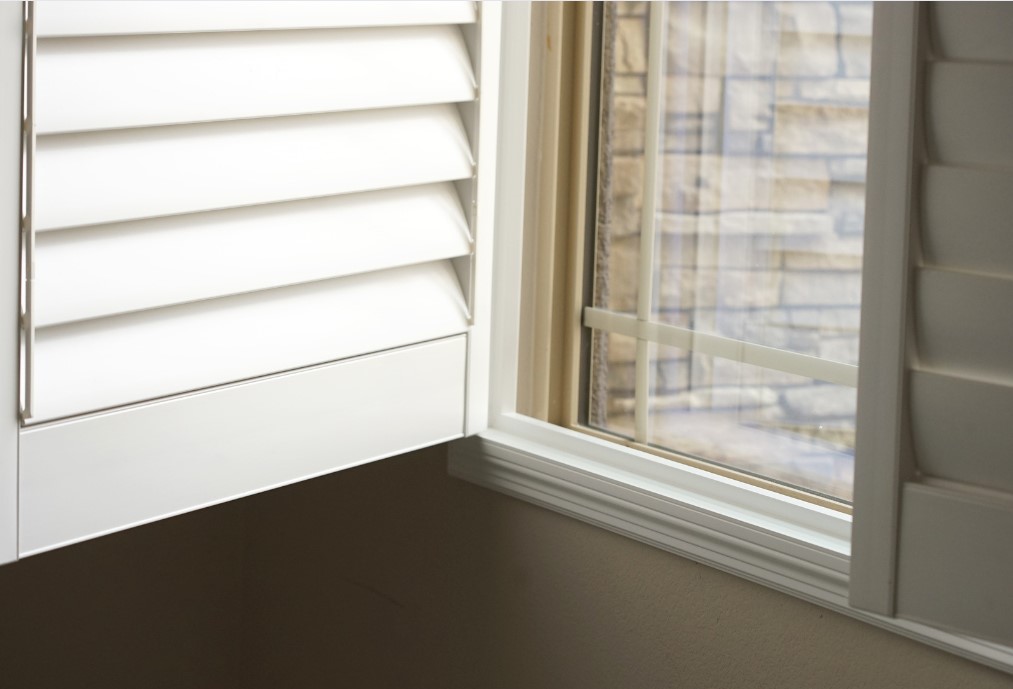
1. Loose or Broken Louvers
The Problem: Individual slats become loose, wobbly, or fall out completely. This usually happens when the small staples or pins holding the louvers to the tilt rod wear out over time.
The Fix: This is one of the easiest repairs. You can re-insert the louver by carefully popping it back into the frame rails. If the staples are damaged, you can purchase replacement staples or louver pins from hardware stores or shutter suppliers. Simply remove the tilt rod, replace the damaged pins, and reassemble.
Cost: $5-$15 for replacement pins or staples
Difficulty: Easy (15-30 minutes)
When to Replace Instead: If multiple louvers are cracked, warped, or the material itself is deteriorating (especially with cheaper vinyl shutters), replacement panels may be more cost-effective than fixing individual slats.
2. Broken or Detached Tilt Rod
The Problem: The tilt rod (the vertical bar that controls all the louvers) becomes detached from the louvers, breaks, or no longer moves smoothly.
The Fix: For detached tilt rods, you’ll need to reconnect each louver using staples or tilt rod clips. If the rod itself is broken, you can purchase replacement tilt rods that match your shutter style. Remove the old rod, attach the new one to each louver using the appropriate clips or staples, and test the movement.
Cost: $10-$30 for a replacement tilt rod
Difficulty: Moderate (30-60 minutes)
When to Replace Instead: If the frame is damaged or the louvers no longer align properly even with a new tilt rod, the entire panel may need replacing.
3. Stiff or Squeaky Hinges
The Problem: Panel hinges become stiff, squeaky, or difficult to open and close.
The Fix: This is often a simple lubrication issue. Apply a silicone-based lubricant (avoid oil-based products that can attract dust) to the hinge pins and moving parts. Work the panels back and forth to distribute the lubricant. If hinges are rusty or stripped, you can replace them with new shutter hinges that match your mounting style.
Cost: $5-$20 for lubricant or replacement hinges
Difficulty: Easy (10-20 minutes)
When to Replace Instead: If the frame itself is warped and preventing proper hinge alignment, you may need new frames or panels.
4. Warped or Damaged Frames
The Problem: The shutter frame is warped, cracked, or pulling away from the window.
The Fix: Minor frame damage can sometimes be repaired with wood filler, sanding, and repainting (for painted shutters). If the frame is pulling away from the wall, you may need to add additional screws or anchors to secure it properly.
Cost: $10-$40 for wood filler, paint, and hardware
Difficulty: Moderate to Difficult (1-3 hours)
When to Replace Instead: Significant warping, rot (in wooden shutters), or structural damage means the frame has compromised integrity. Water damage is a particular red flag—if the frame has absorbed moisture and expanded, replacement is usually necessary.
5. Faded, Discolored, or Chipped Paint
The Problem: Paint is peeling, chipped, or the shutters have become discolored from sun exposure.
The Fix: You can sand down the affected areas, apply primer, and repaint with a high-quality paint designed for shutters. For best results, remove the panels and paint them horizontally to avoid drips.
Cost: $30-$80 for paint and supplies
Difficulty: Moderate (2-4 hours plus drying time)
When to Replace Instead: If the material beneath the paint is deteriorating (crumbling MDF, brittle vinyl, or rotting wood), painting is just covering up a bigger problem. Consider replacement.
6. Broken Magnets or Catches
The Problem: The magnetic catches that hold panels closed no longer work.
The Fix: These are inexpensive and easy to replace. Simply remove the old magnet or catch with a screwdriver and install the new one in the same location.
Cost: $5-$15 for replacement magnets
Difficulty: Easy (10-15 minutes)
When to Replace Instead: This repair is almost always worthwhile unless you’re replacing the entire shutter anyway.
The Repair vs Replace Decision Matrix
To help you make the right choice, ask yourself these questions:
Repair Makes Sense When:
- The problem is isolated to one or two components (single louver, one hinge, tilt rod)
- The frame and overall structure are solid and undamaged
- The shutters are less than 10 years old (for quality shutters)
- The repair cost is under 30% of replacement cost
- The shutters match your décor and you’re happy with their appearance
- You enjoy DIY projects and have the time
Replacement Makes Sense When:
- Multiple panels have the same problem (warping, broken louvers across several panels)
- There’s water damage, rot, or mold in wooden components
- The shutters are very old (15+ years) and showing multiple signs of wear
- Repair costs approach or exceed 50% of replacement cost
- You’re renovating and want to update your home’s look
- The shutters are made from low-quality materials that won’t last much longer
- You’re spending more time maintaining them than enjoying them
When Cheap Shutters Cost More in the Long Run
Here’s a truth many homeowners learn the hard way: bargain-basement plantation shutters often end up being far more expensive than quality shutters when you factor in repairs and early replacement.
Cheap vinyl shutters may warp in direct sunlight. Hollow MDF shutters can crumble when exposed to humidity. Poor-quality mechanisms break repeatedly, turning what should be a “set it and forget it” window treatment into an ongoing maintenance headache.
If you’re constantly repairing shutters that are only a few years old, it’s a sign you started with low-quality materials. In this case, replacement with better shutters is an investment that will save you time, money, and frustration over the next decade.
The Smart Alternative: Quality DIY Shutters That Last
If you’ve decided replacement is the right call, you have two options: hire expensive professional installers or take the DIY route with quality components.
This is where DIY Easy Fit Shutters changes the game.
We provide premium-quality plantation shutters designed specifically for DIY installation—without the premium price tag of professional installation. Here’s what makes our shutters different:
Built to Last
Our shutters use durable, moisture-resistant materials that won’t warp, crack, or fade. We don’t cut corners on components, so you won’t be making repairs every few years.
Easy Installation System
Our innovative frame system is designed for homeowners, not just professional installers. Clear instructions, pre-measured components, and foolproof mounting mean you can achieve professional results yourself.
Australian Made for Australian Homes
We understand Australian windows, Australian weather, and Australian homes. Our shutters are built for the conditions your windows face every day.
Significant Cost Savings
Professional installation can double or even triple the cost of plantation shutters. With DIY Easy Fit Shutters, you get the same quality shutters without paying someone else’s labor costs. Most homeowners save $1,500-$4,000 per home.
Custom Made to Your Measurements
Every shutter is made to your exact specifications. No awkward gaps, no compromise on fit—just perfect shutters for your windows.
Your Next Steps
If your current shutters are beyond repair—or you’re tired of constantly fixing them—it’s time to upgrade to shutters that will actually last.
👉 Get your free quote here: https://diyeasyfitshutters.com.au/quote/
Not sure if DIY installation is right for you? See and feel the quality for yourself:
👉 Order a free sample box: https://diyeasyfitshutters.com.au/request-a-sample/
The sample box includes actual shutter materials, color samples, and mechanism demonstrations so you can make an informed decision.
🔗 Related Blogs
Continue your DIY plantation shutter journey with these helpful guides:
- How to Measure for DIY Plantation Shutters – Get perfect measurements the first time
- The Frame Game: Choosing the Right Shutter Frame – Understanding frame styles and what works best
- How to Install Your DIY Plantation Shutters – Step-by-step installation guide
- Are Plantation Shutters Worth the Cost? Myth vs Reality – Investment analysis and long-term value