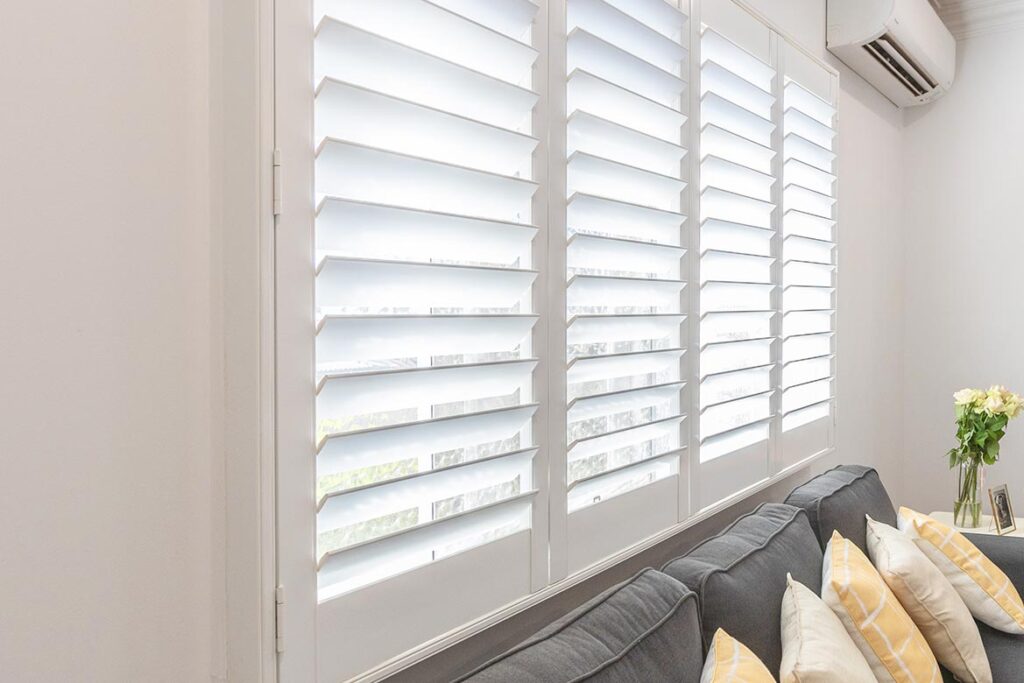
DIY plantation shutters are a fantastic way to enhance your home’s style while maintaining privacy and light control. However, installation mistakes can lead to poor functionality, gaps, or even damage to your shutters. To help you achieve a flawless finish, here are some of the most common mistakes people make when installing plantation shutters—and how to avoid them!
1. Incorrect Measurements
The Mistake:
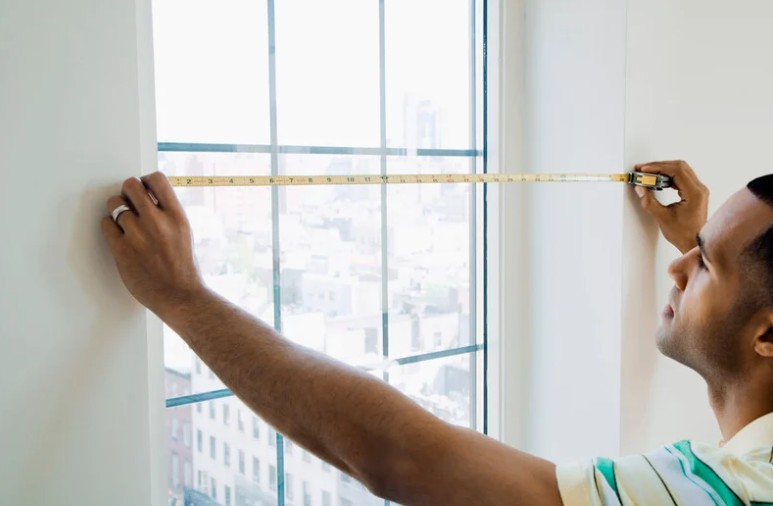
One of the most common issues with DIY shutter installation is measuring incorrectly. Even a few millimetres off can result in shutters that don’t fit properly, leaving gaps or making installation impossible.
How to Avoid It:
- Always use a metal tape measure for accurate readings.
- Measure width and height in three places (top, middle, and bottom) and use the smallest measurement for a perfect fit.
- Double-check whether your shutters require an inside mount or outside mount, as the measurement process differs for each.
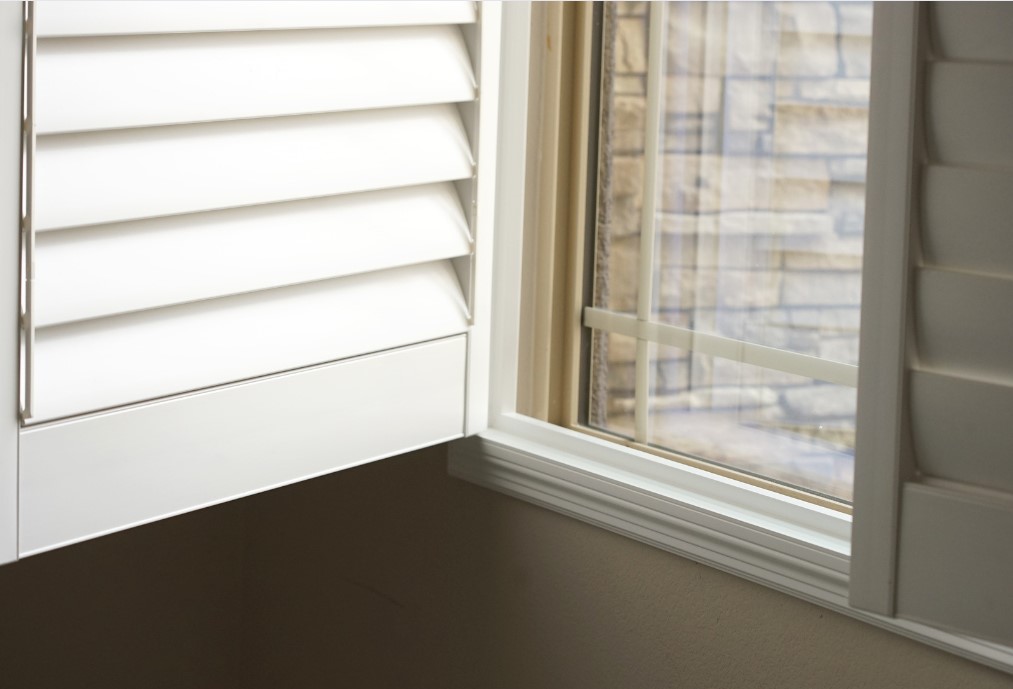
2. Choosing the Wrong Mounting Option
The Mistake:
Inside-mounted shutters require a deep window reveal, whereas outside-mounted shutters work well for shallow or uneven reveals. Choosing the wrong mount can lead to installation problems.
How to Avoid It:
- Measure the depth of your window reveal to ensure it’s suitable for an inside mount.
- If the reveal is too shallow, opt for an outside mount L-frame to achieve a secure fit.
3. Not Accounting for Window Handles or Locks
The Mistake:
Shutters installed too close to window handles, cranks, or locks can obstruct movement, making it difficult to open or close the window.
How to Avoid It:
- Check for obstructions like handles, locks, or security screens before ordering your shutters.
- Consider using spacers or an outside mount to ensure smooth operation.
4. Rushing the Installation Process
The Mistake:
Some DIYers rush through the installation, leading to misaligned frames, loose hinges, or even drilling mistakes that can damage your window frame.
How to Avoid It:
- Take your time and follow the step-by-step instructions.
- Use a spirit level to ensure shutters are installed evenly.
- Check alignment before drilling to prevent unnecessary holes.
5. Ignoring Floor or Ceiling Slopes
The Mistake:
Many homes have slight variations in wall, floor, or ceiling levels. If not accounted for, shutters may appear uneven once installed.
How to Avoid It:
- Use a spirit level to check for uneven surfaces.
- If necessary, use shims or spacers to ensure a level installation.
6. Using the Wrong Tools
The Mistake:
Using the wrong tools or low-quality hardware can make installation harder and less secure.
How to Avoid It:
- Use a cordless drill, screwdriver, spirit level, and a measuring tape.
- Ensure you have the correct screws and wall plugs, especially for different wall types like plaster, brick, or concrete.
7. Over-Tightening Screws
The Mistake:
Over-tightening screws can warp the frame or strip the holes, making the shutters difficult to adjust.
How to Avoid It:
- Tighten screws just enough to hold the frame securely without bending or distorting it.
- If using an electric drill, set it to a low torque setting to avoid overtightening.
8. Forgetting to Test Before Finishing
The Mistake:
Skipping the final check before fully securing the shutters can lead to improper alignment or difficulty in opening and closing them.
How to Avoid It:
- Before tightening all screws, open and close the shutters to check alignment.
- Adjust as needed before finalising installation.
Conclusion:

Installing plantation shutters yourself can be a rewarding and cost-effective project—if done correctly! By avoiding these common mistakes, you can achieve a professional-looking finish that enhances your home’s aesthetic and functionality.
At DIY EasyFit Shutters, we provide made-to-measure shutters and detailed installation guides to ensure a seamless process. If you’re ever unsure, don’t hesitate to reach out for advice!
Ready to get started? Get your instant quote today!