Key Takeaways
- DIY plantation shutter installation is achievable for most homeowners with basic tools and moderate handyman skills.
- The process typically takes 2-4 hours per window once you understand the steps, making it manageable over a weekend.
- Accurate measuring is the most critical step—getting this right determines 90% of your success.
- Pre-assembled shutter kits significantly reduce complexity compared to building shutters from scratch.
- Common challenges include frame squaring, hinge alignment, and working with older window frames, but all are solvable with patience.
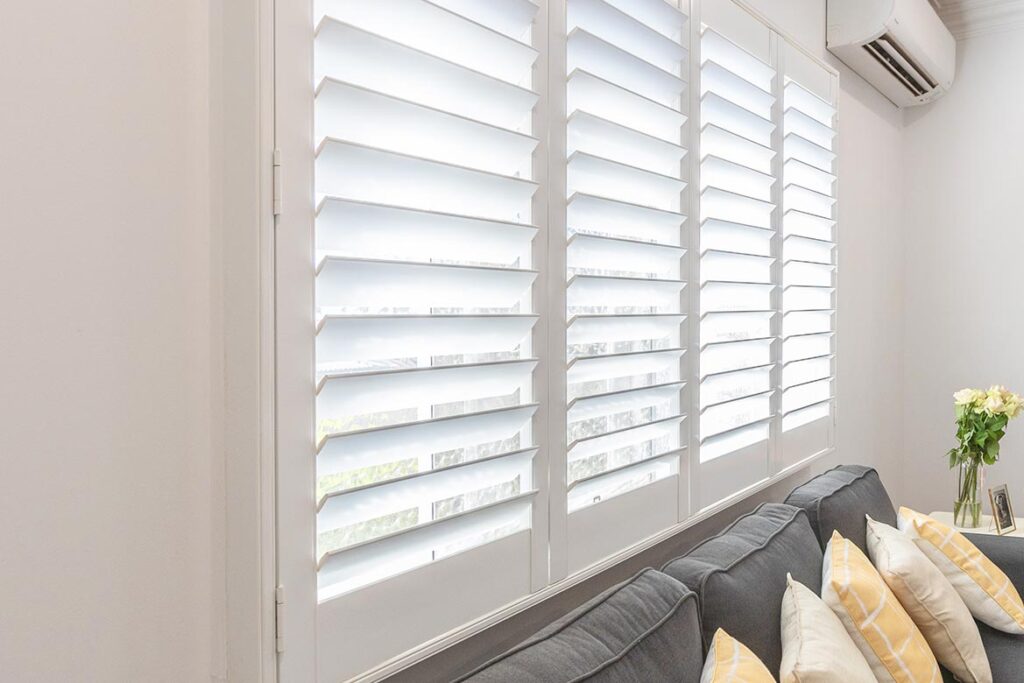
If you’re considering plantation shutters but hesitant about the DIY route, you’re not alone. Many Australian homeowners wonder whether they can truly handle the installation themselves or if they should call in professionals. The honest answer? It depends on your confidence level and willingness to follow instructions carefully—but it’s definitely more achievable than you might think.
The Real Difficulty Breakdown
Let’s get straight to what you actually need to tackle a DIY plantation shutter project:
Skill Level Required
- Basic power tool operation (drill, screwdriver)
- Ability to measure accurately and double-check measurements
- Patience for detailed work—rushing is where most mistakes happen
- Problem-solving mindset for minor adjustments
Tools You’ll Need
- Cordless drill with appropriate bits
- Spirit level (essential for getting frames straight)
- Tape measure and pencil
- Screwdrivers (Phillips and flathead)
- Possibly a handsaw or drop saw for minor frame adjustments
The good news? You don’t need to be a carpenter or have years of renovation experience. If you’ve successfully assembled flat-pack furniture or hung heavy picture frames, you have the foundational skills needed.
Read related blog post: Does Your Room Suffer from Condensation? Plantation Shutters Might Help
Where Most DIYers Struggle (And How to Avoid It)
After helping hundreds of customers through their installations across Brisbane, Sydney, and beyond, we’ve noticed a few common sticking points:
Measuring Mistakes This is the number one issue. Measure your window recess three times: top, middle, and bottom for width; left, centre, and right for height. Windows are rarely perfectly square, especially in older Australian homes. Always use the smallest measurement to ensure your shutters fit.
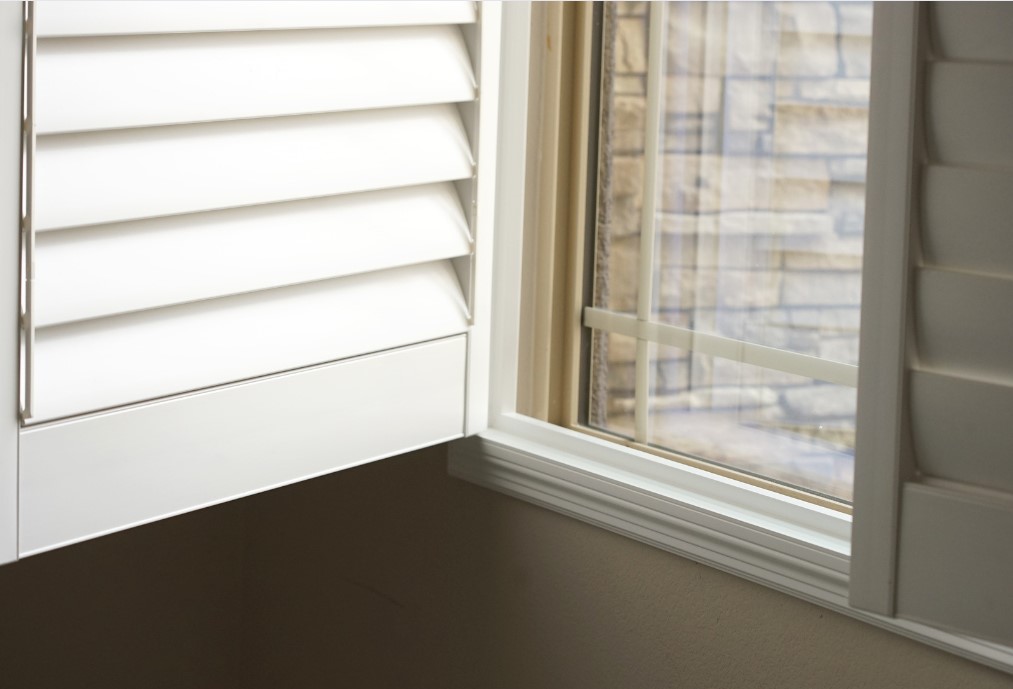
Frame Installation Getting the frame level and square takes patience. Use packers or shims to adjust for uneven walls, and don’t fully tighten screws until you’ve confirmed everything is aligned. This step can’t be rushed.
Hinge Alignment Pre-drilled holes make this easier, but you’ll still need precision. A misaligned hinge means panels that don’t close properly. The secret? Work methodically and test-fit before final installation.
Older Window Frames Heritage homes and older properties can present challenges with uneven surfaces or deteriorating frames. You may need to add timber packing or make minor repairs before installing shutters.
What Makes DIY Shutters Easier Than You Think
Here’s the encouraging part: modern DIY plantation shutter kits are designed specifically for homeowner installation. Unlike professional-grade products that assume technical knowledge, quality DIY kits include:
- Pre-cut frames sized to your measurements
- Pre-assembled louvre panels (no individual slat installation required)
- Clear, step-by-step instructions with diagrams
- Pre-drilled screw holes in most components
- Customer support via phone or video call
Many of our first-time installers in Melbourne, Brisbane, and across Australia report that the second window goes much faster than the first. Once you understand the process, it becomes straightforward repetition.
Time Investment: What to Expect
Let’s be realistic about timing:
- First window: 3-4 hours (includes learning curve and double-checking everything)
- Subsequent windows: 1.5-2 hours each once you’re comfortable
- Full home project: Plan a weekend for 4-6 windows
The beauty of DIY shutters is flexibility. You can tackle one room at a time rather than coordinating with a tradie’s schedule or taking time off work.
When to Consider Professional Installation
DIY isn’t for everyone, and that’s perfectly fine. Consider calling in professionals if:
- You have very large or unusually shaped windows requiring custom solutions
- You’re dealing with significant structural issues in window frames
- You lack the necessary tools and don’t want to invest in them
- You simply prefer to have guaranteed professional results
However, for standard rectangular windows in reasonably good condition, DIY installation is genuinely within reach for most homeowners who can follow instructions carefully.
The Confidence Factor
Perhaps the biggest variable isn’t technical difficulty but personal confidence. Some people thrive on hands-on projects and enjoy problem-solving as they go. Others prefer certainty and professional guarantees.
Ask yourself honestly:
- Do you generally enjoy DIY projects?
- Can you stay calm when something doesn’t go perfectly the first time?
- Are you willing to spend time watching tutorial videos and reading instructions thoroughly?
If you answered yes to these questions, you’re likely a good candidate for DIY plantation shutters.
What Our Customers Usually Ask Us
“What if I measure wrong?” This is why we recommend measuring multiple times and even sending us photos of your windows before ordering. Most reputable suppliers will guide you through the measuring process.
“Can I install shutters in a bathroom myself?” Absolutely! Just ensure you order moisture-resistant materials. The installation process is identical to other rooms.
“What’s the hardest part?” Most customers say getting that first frame perfectly level and square. After that, everything else falls into place more easily.